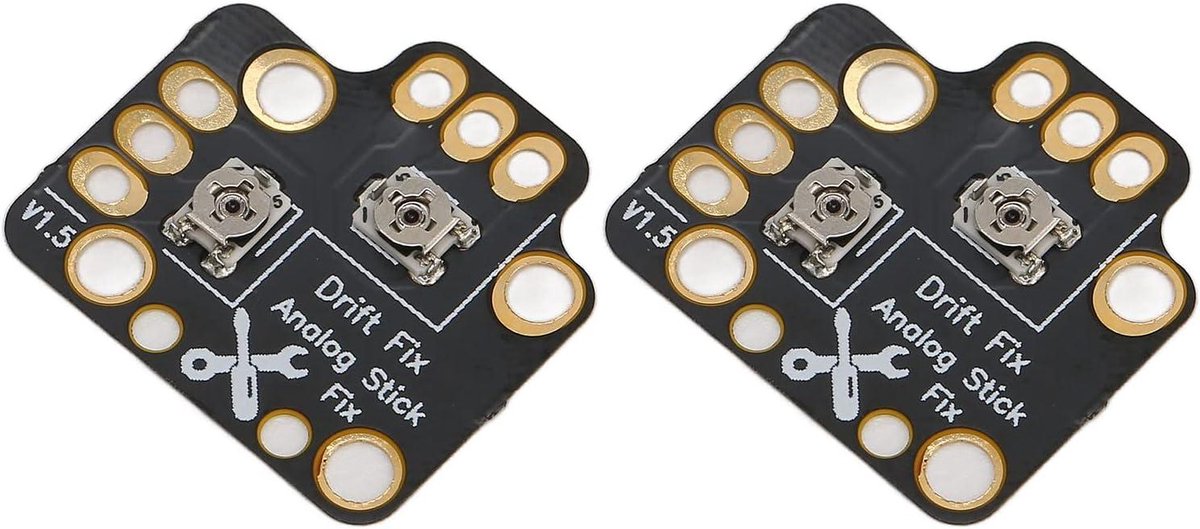
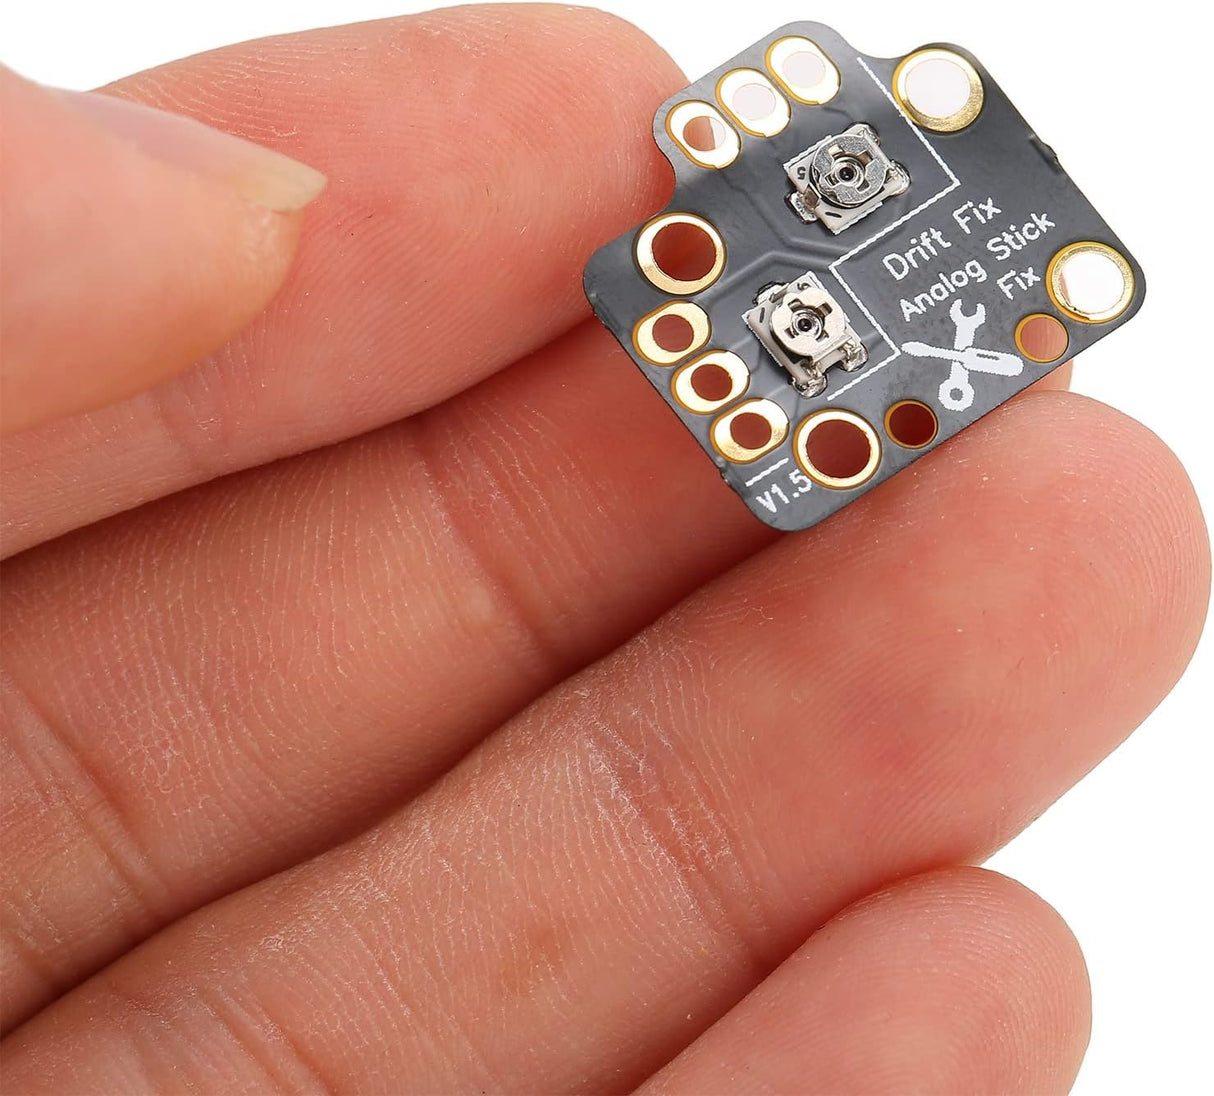
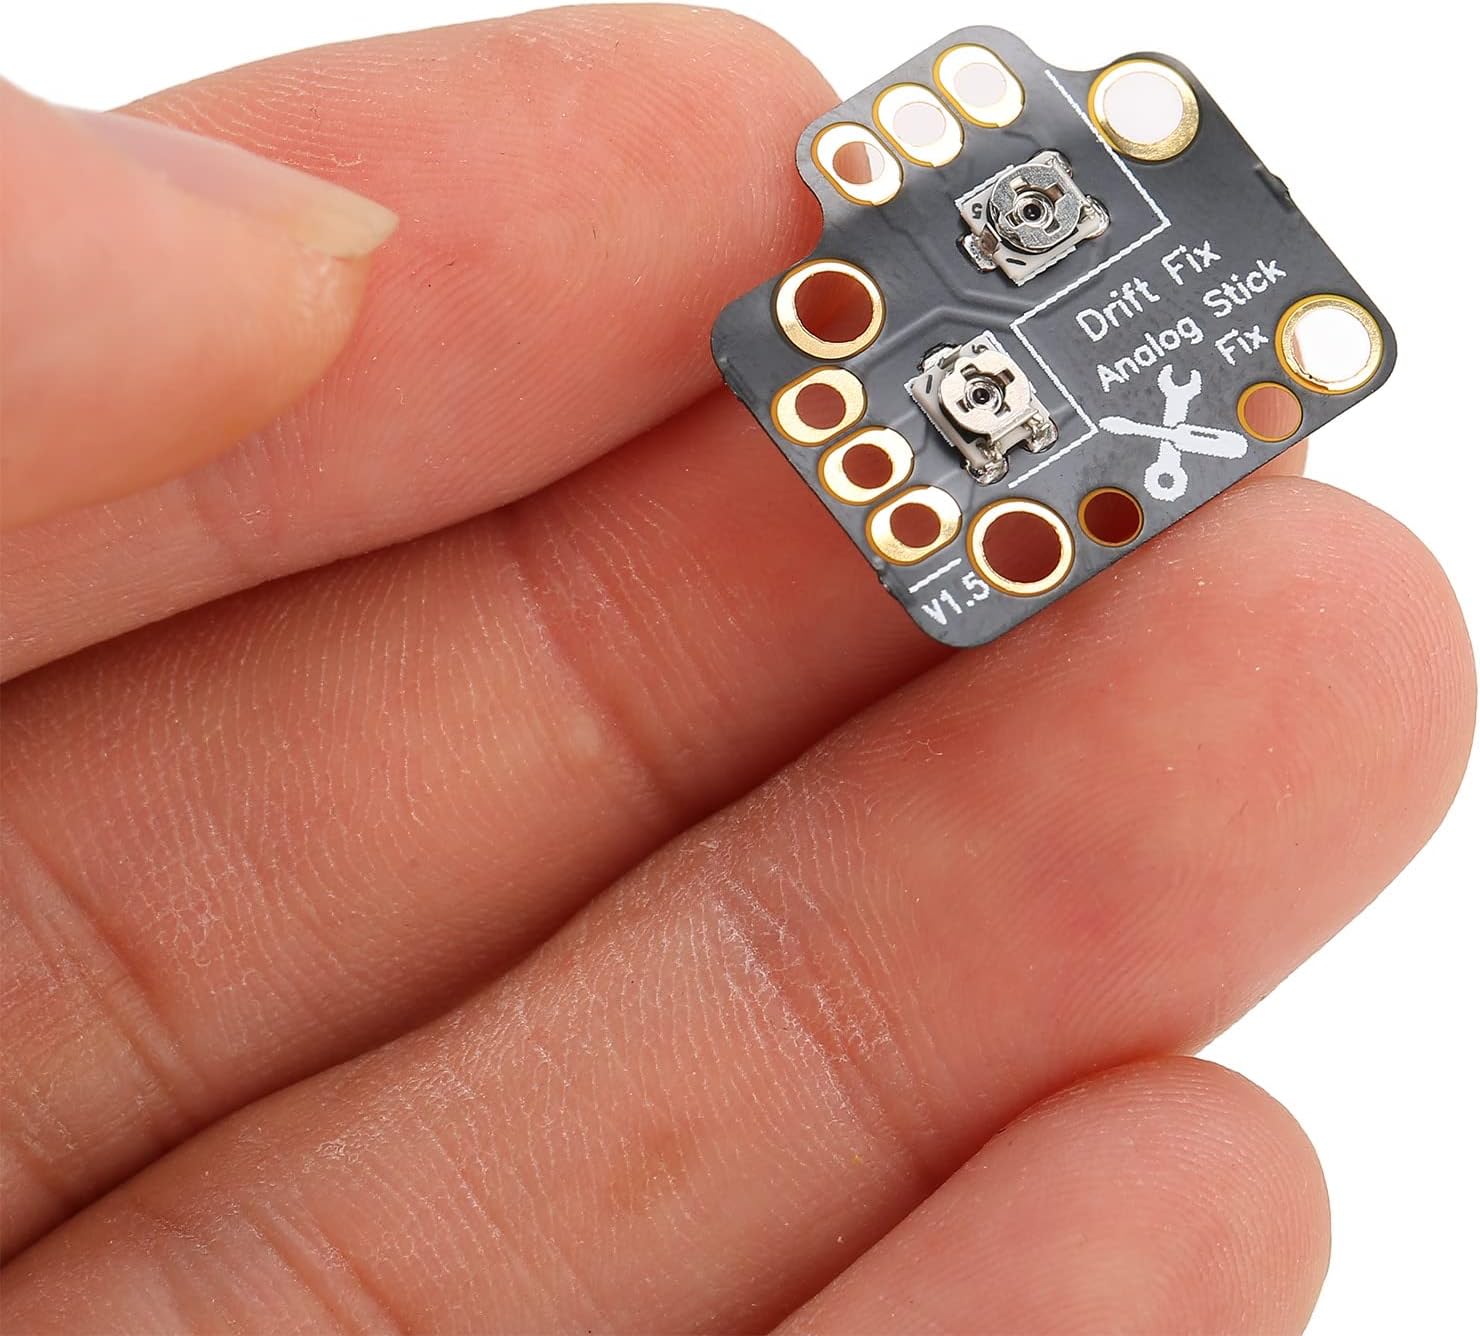
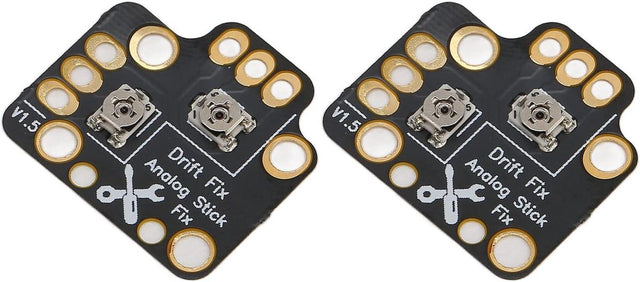
PS4 PS5 Xbox One S/X | Analog Stick Drift Fix Board (2 Pieces)
Pickup available at Dynamodz
Usually ready in 2-4 days
Shipping information
Shipping information
Orders placed on weekdays before 4:00 PM and in stock will be shipped the same day . In most cases, your order will be delivered the next day. More details can be found in our shipping policy .

Description
Description
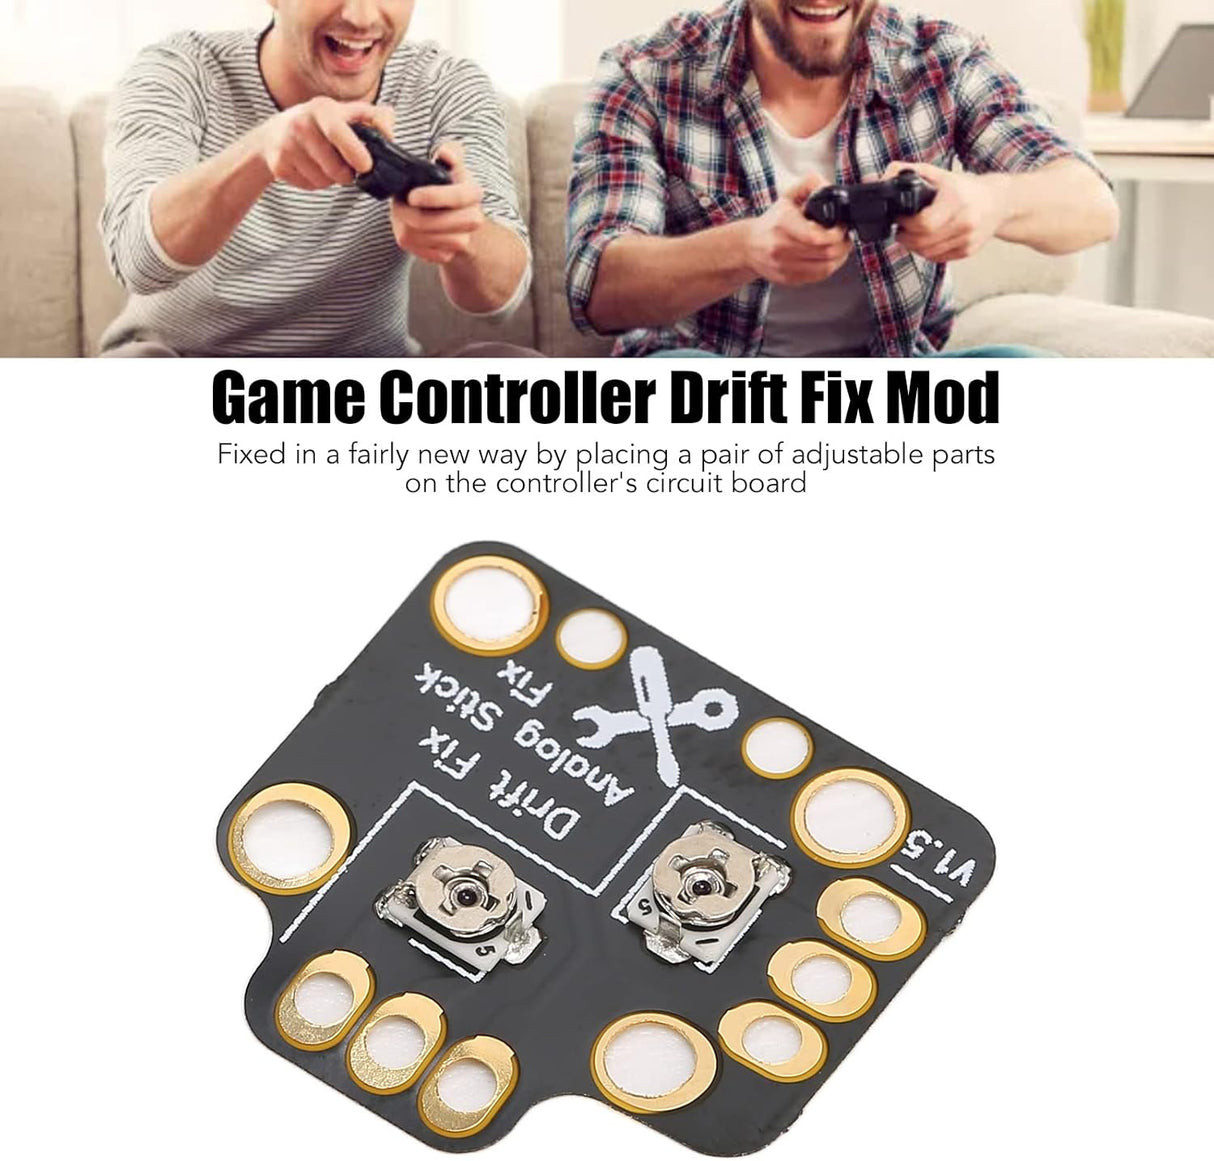
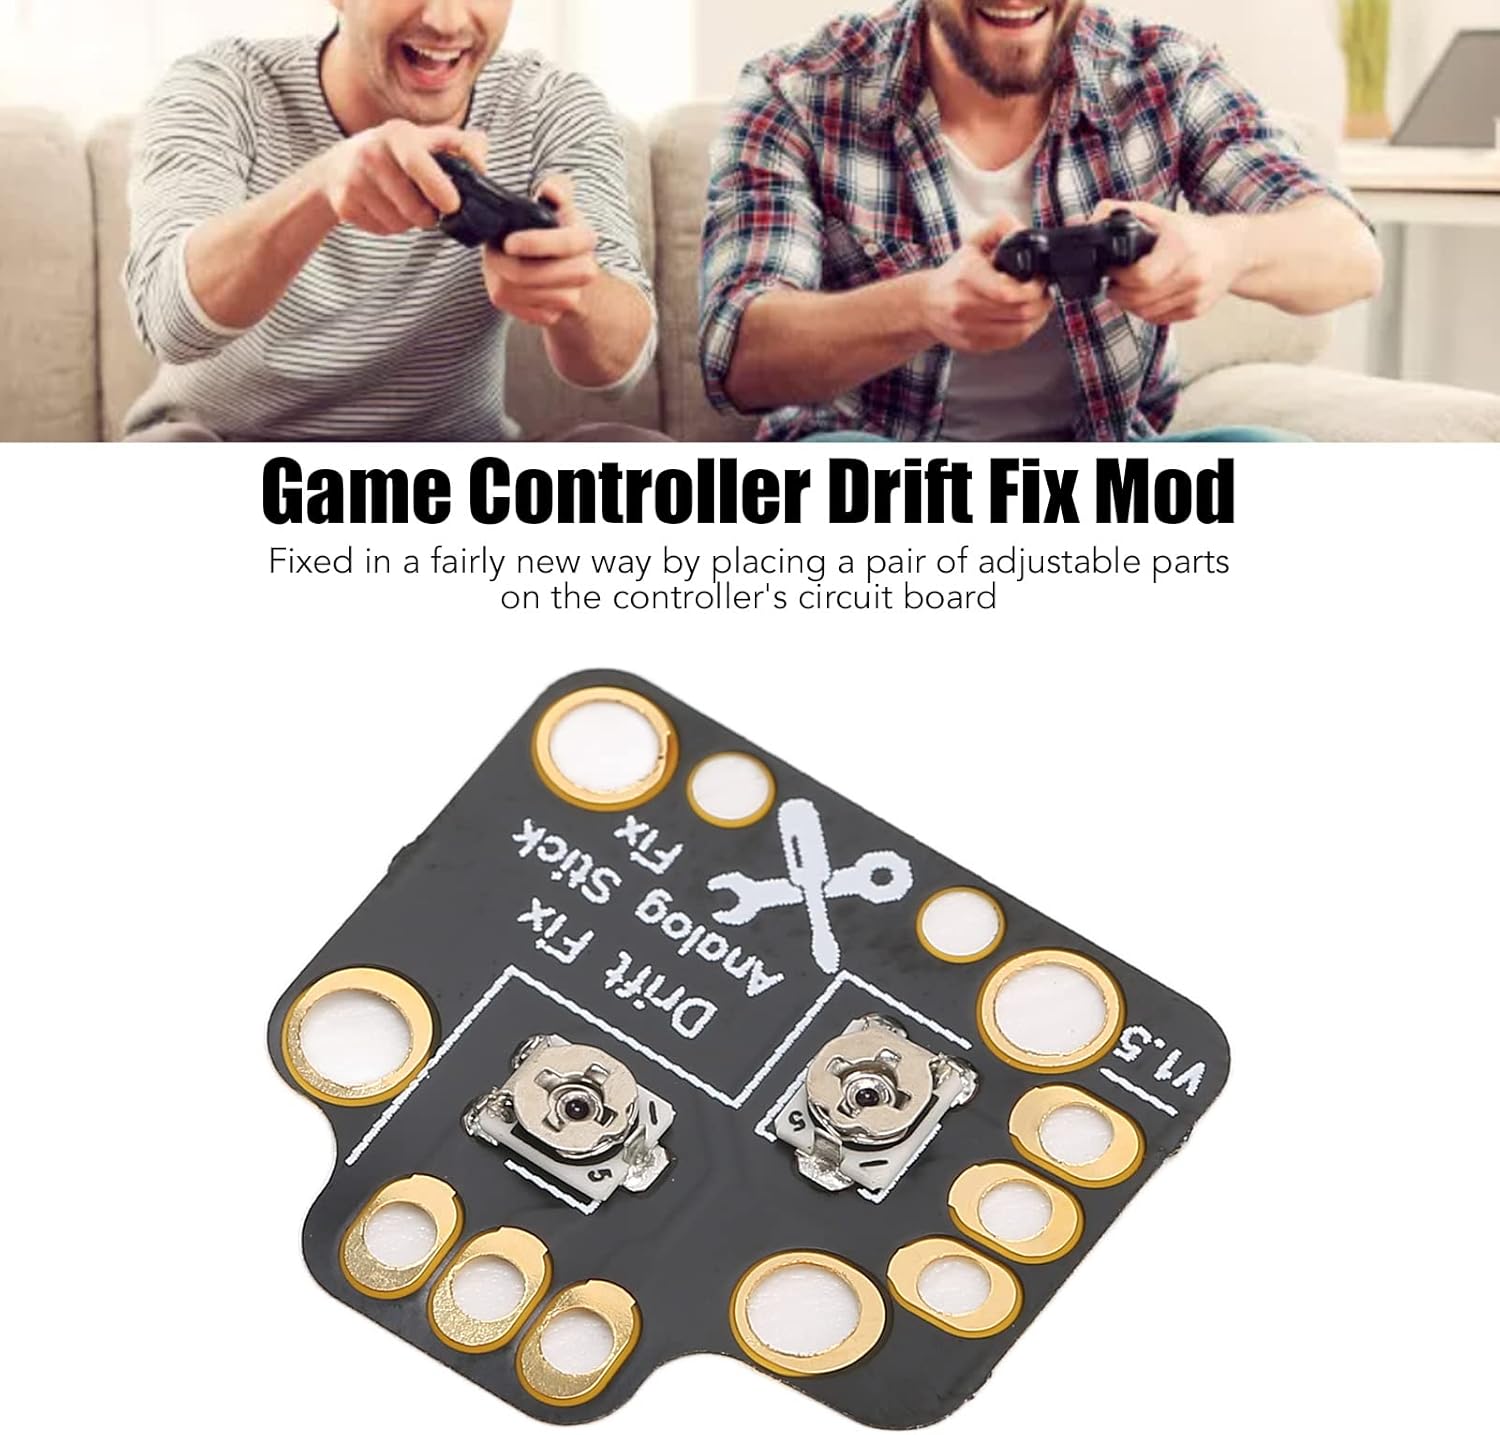
Are you experiencing stick drift on your PS4, PS5, Xbox One, or Xbox Series S/X controller, where your analog stick registers unwanted movements? This Analog Stick Drift Fix Board 2-piece set in black offers the solution. This part optimizes the faulty potentiometer and restores the accuracy of your controller for an optimal gaming experience.
Symptoms that indicate this part needs to be replaced:
- Analog stick registers movements without input (stick drift).
- Inaccurate or jerky movements during gameplay.
- Cursor or character moves by itself in games.
Features and benefits:
- Set of 2 pieces in black, ideal for repairing both sticks.
- Compatible with PS4, PS5, Xbox One, and Xbox Series S/X controllers.
- Restores analog stick precision and eliminates/reduces drift.
- Fast delivery, immediately available from stock.
Console compatibility:
- Compatible with PS4, PS5, Xbox One, and Xbox Series S/X controllers.
- Not suitable for the Elite or Edge controllers.
Difficulty of replacement:
- Intermediate: Some technical knowledge required, with screwing and soldering.
Special tools required:
- Screwdrivers (specifically for controllers, such as TORX or Phillips).
- A soldering iron with tin and flux for mounting.
- Plastic opening tools (to open the controller case without damage).
Disadvantage:
- Installation can be challenging for beginners without controller repair experience.
Analog Stick Drift Fix Board Installation Guide:
Below you will find a customized step-by-step guide for installing the Analog Stick Drift Fix Board.
This guide focuses on using the Drift Fix Board as a permanent solution for stick drift. Note: The exact steps may vary depending on your controller type (PS4, PS5, Xbox One, or Xbox Series S/X). Exercise caution and work in a clean, well-lit area. If you are unsure of your skills, consider seeking professional assistance.
- Preparation: Turn off your controller and remove any batteries or cables. Gather your tools: screwdrivers, plastic opening tools, and a soldering iron. Also have some cotton swabs and isopropyl alcohol (rubbing alcohol) ready for cleaning. Place a soft cloth on the controller to prevent scratches.
- Opening the controller: Use the appropriate screwdriver (often a TORX T8 or Phillips, depending on the controller) to remove the screws on the back of the controller. Use a plastic opening tool to gently pop off the housing. Be careful not to break any internal clips.
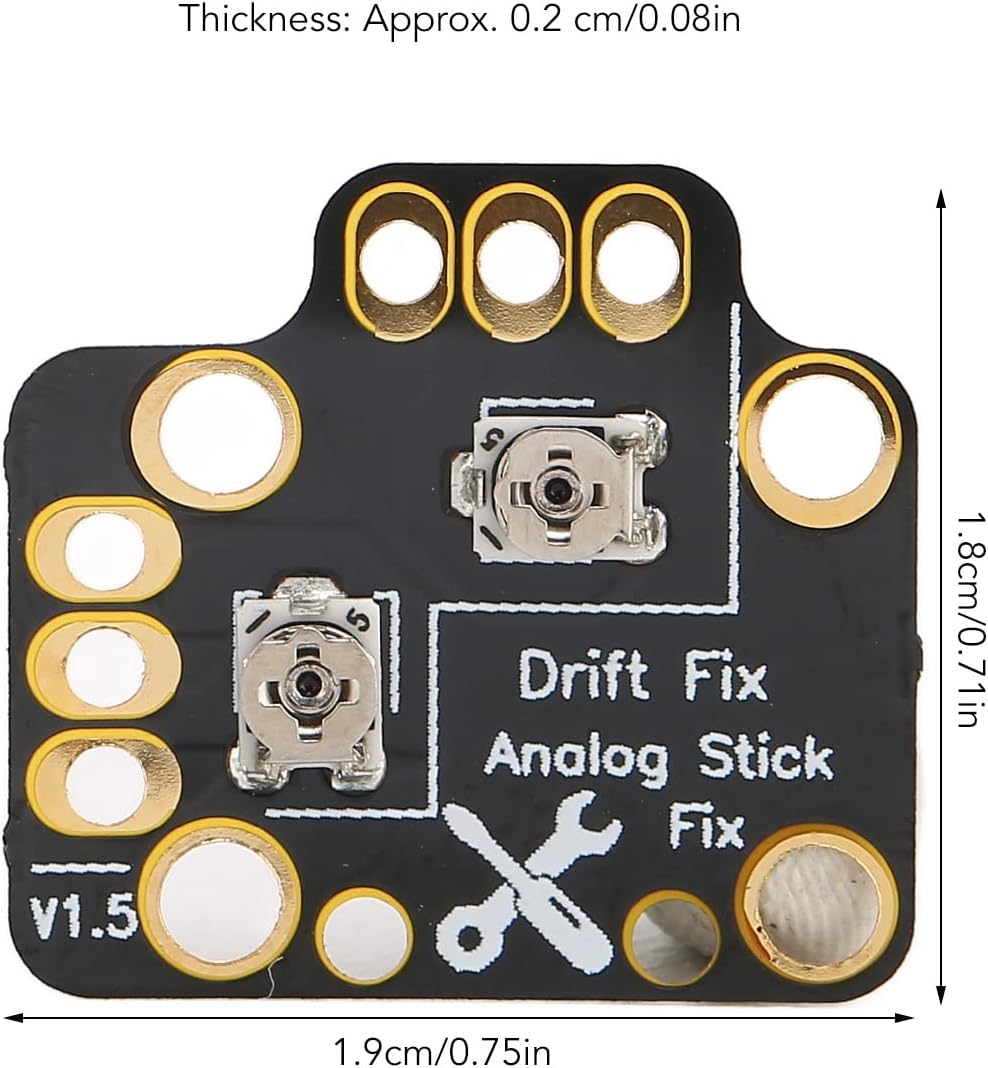
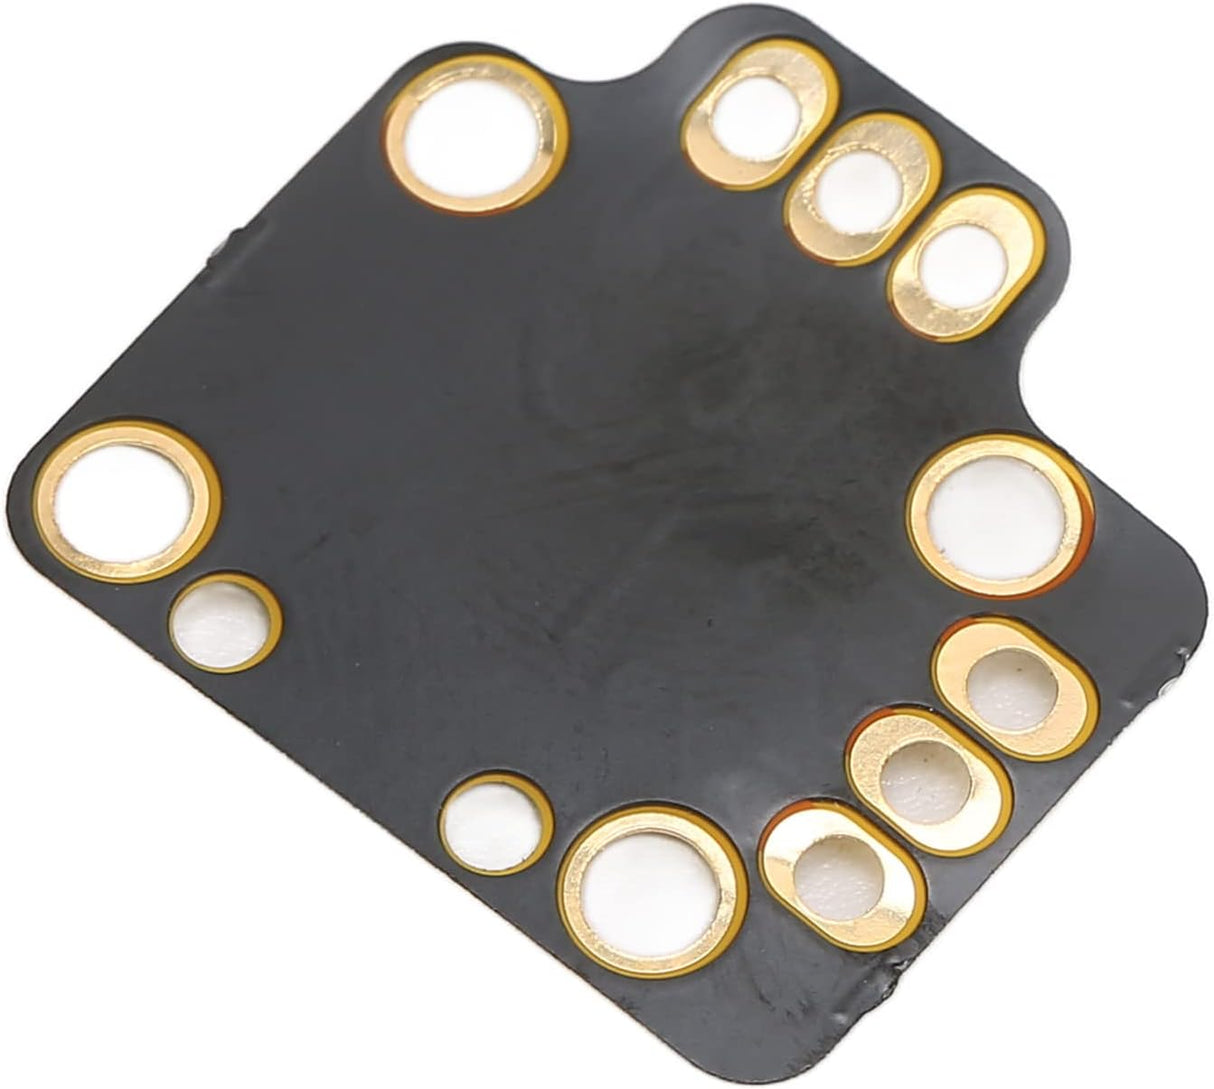
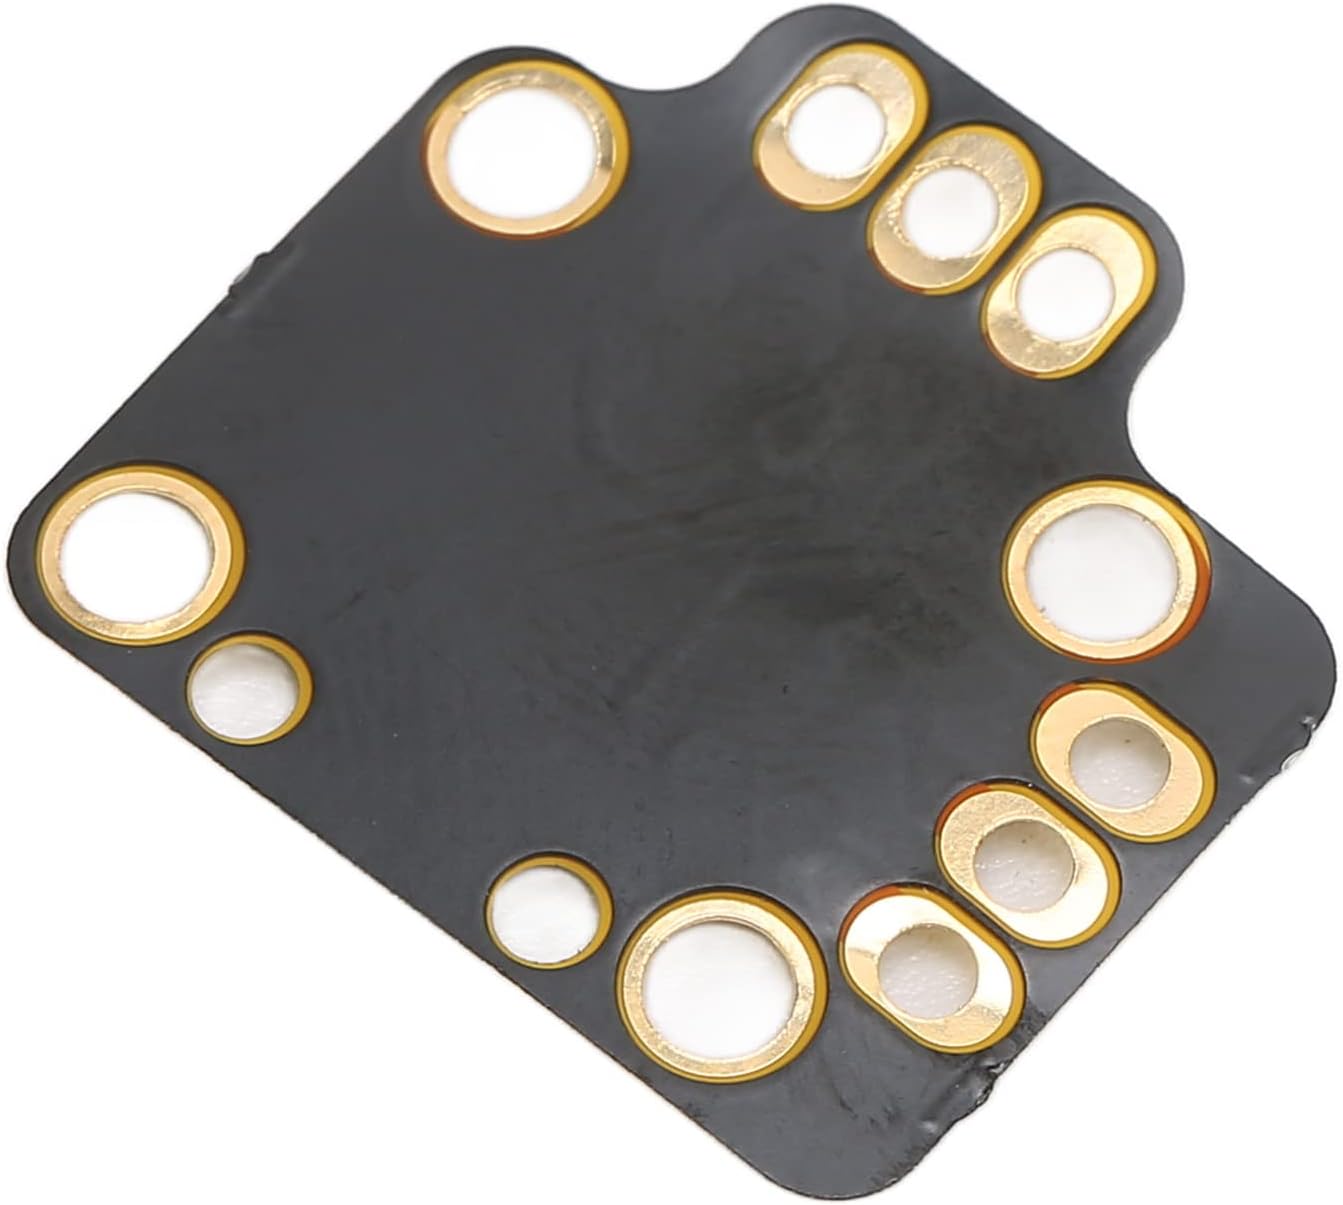
- Accessing the analog stick module: Locate the back of the analog stick modules on the PCB. These are soldered in place and have the same layout as the Analog Stick Drift Fix Board. Access this side of the PCB to solder our Fix Board onto it.
- Inspect and clean the analog stick module: Now that you've got this far, check the current condition of the potentiometer. Stick drift is often caused by wear or dirt. Clean the entire analog stick/potentiometer with a cotton swab dipped in isopropyl alcohol. Place the new Drift Fix Board over the solder points on the back of the analog stick (i.e., the other side of the circuit board). Solder the contact points with solder; a little flux helps the solder flow better. Check that the Fix Board is firmly attached. Remove excess flux with a cotton swab and isopropyl alcohol. These boards are designed to adjust the resistance with a Phillips screwdriver and minimize drift.
- Testing and adjusting: Temporarily connect the controller (if possible) to test whether the stick drift has been resolved. The Drift Fix Boards can adjust the resistance by turning the screw with a Philips screwdriver. This can be done live via the Hardwaretester website, for example. Test the sticks and adjust the resistance to see if the drift has disappeared.
- Reassemble the controller: Place all components back in their correct positions and screw the housing back on. Make sure no cables or components are pinched. Do not overtighten the screws to prevent damage.
- Final test: Turn on the controller and test the analog sticks in a game or through the console settings to confirm that the drift has been resolved. If the problem persists, check if the board is installed correctly or if further calibration is required.
Slimhuisje also offers professional repairs for PlayStation and Xbox. Visit the service page for console repairs.
✅ slimhuisje.nl – Level up your game with top-quality components and expert support!
Payment Methods

